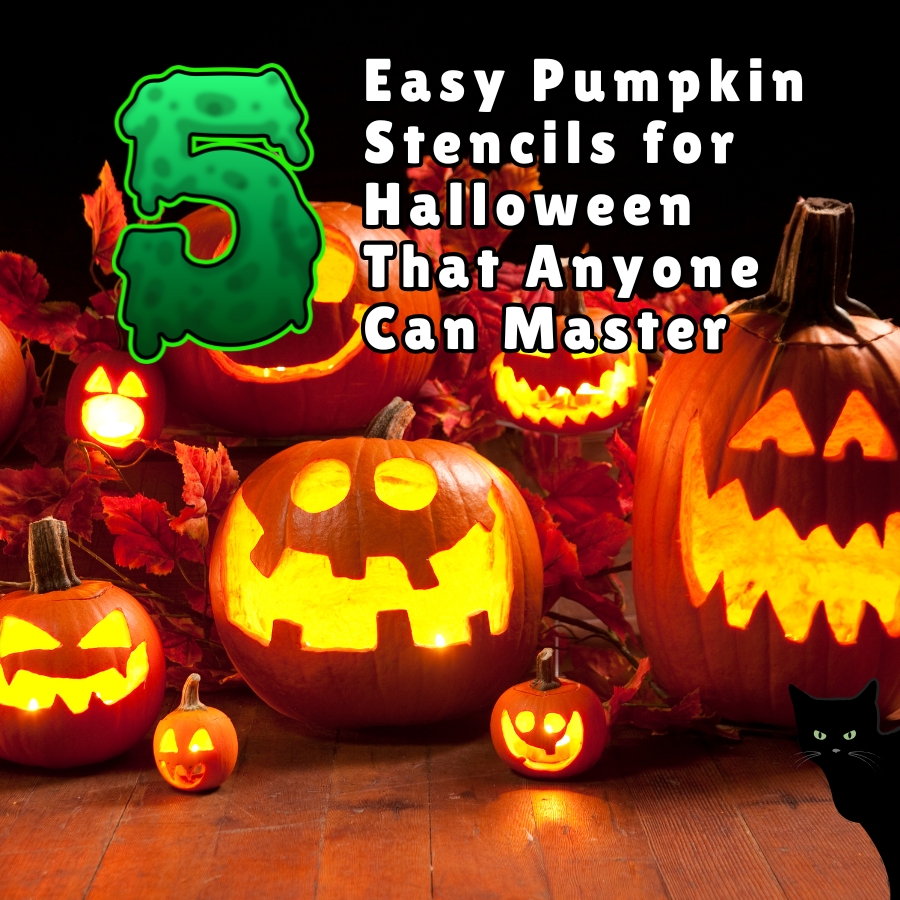
Halloween is right around the corner, and that means it’s time to start thinking about those iconic glowing pumpkins. Sure, carving pumpkins is messy fun, but picking a great design doesn’t have to be complicated. Whether you’re a first-time carver or a seasoned Halloween enthusiast, you’ll love these 5 easy pumpkin stencils for Halloween that are simple, creative, and guaranteed to impress. Grab your pumpkin carving kit, and let’s dive into the world of stencils that are both spooky and silly!
What Makes These Pumpkin Stencils Perfect for Halloween?
Before we reveal the stencils, let’s talk about why using stencils is a game-changer for your Halloween decorating. First, they take the guesswork out of creating detailed or recognizable designs. Plus, if you’ve ever tried freehand pumpkin carving, you know how easy it is to turn a spooky ghost into a squashed blob. Stencils make sure that even if your knife skills aren’t top-tier, your pumpkin will still look sharp!
For Halloween, you want your pumpkins to convey the spirit of the season without too much effort. And these easy pumpkin stencils for Halloween do exactly that: fun designs, no stress, and perfect for every skill level.
- The Classic Jack-O’-Lantern with a Twist
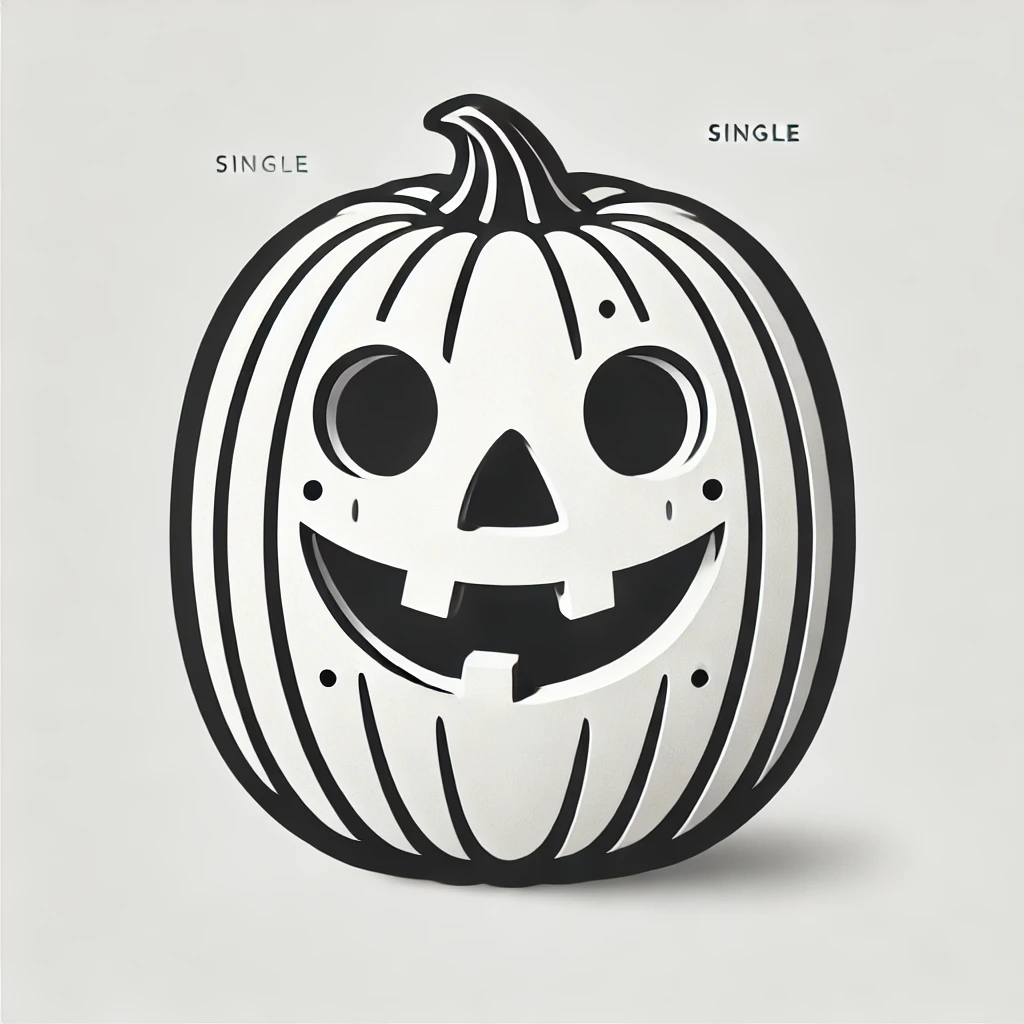
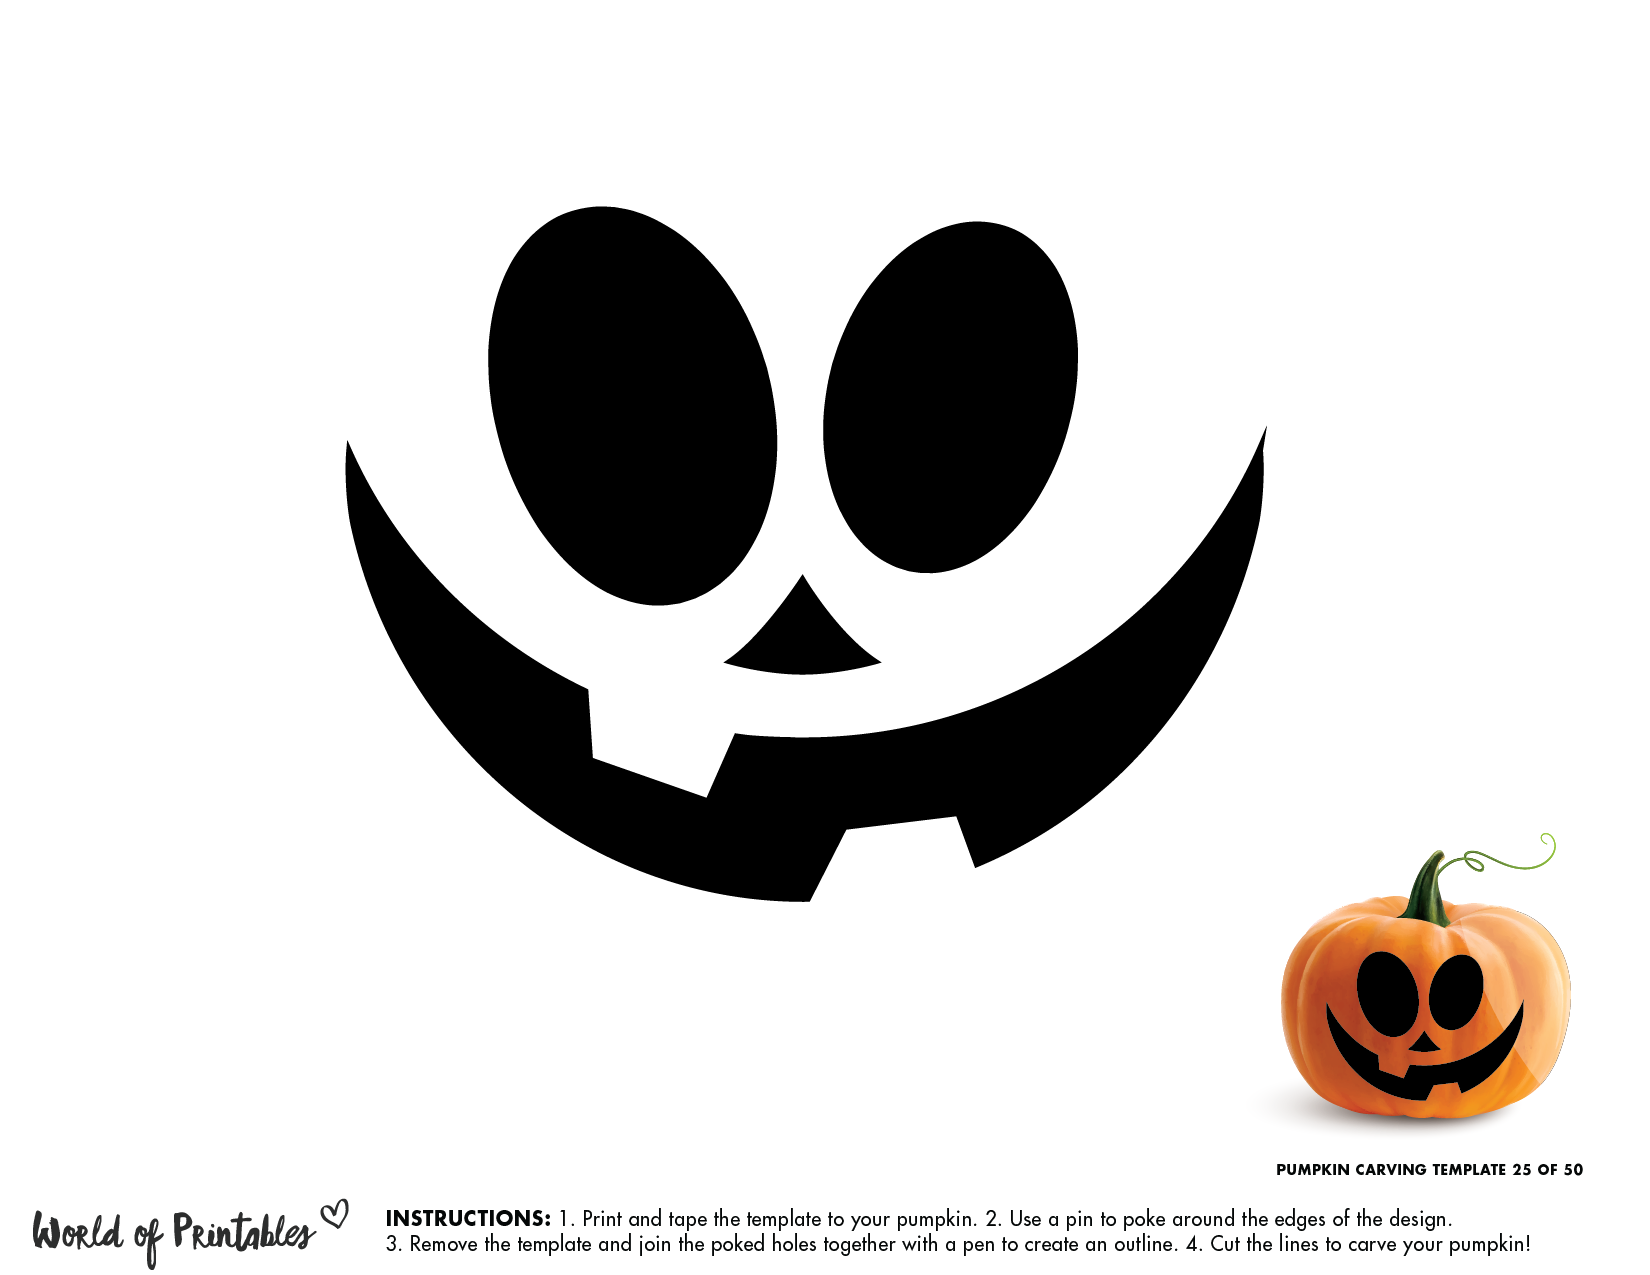
You simply can’t go wrong with a classic Jack-O’-Lantern. It’s the quintessential Halloween image that never gets old. But why not spice things up with a twist on the original? Try stenciling a Jack-O’-Lantern with exaggerated, wonky teeth, or give it oversized eyes for a goofy look. It’s still super simple to carve, but it adds a quirky, unique flair to the old favorite. Plus, this stencil is so easy that even your youngest goblins can help carve out the details!
How to carve it:
- Use a basic triangle for the eyes but make them uneven for a playful effect.
- Give the mouth extra-large gaps between teeth to exaggerate that grin.
- Bonus: Add some silly eyebrows or a small triangle nose for character.
Pro Tip: The more crooked the grin, the better. Imperfections make it look like a cheeky, mischievous Jack ready to light up the night!
- Spooky Cat Silhouette
For the cat lovers out there, this one’s for you! Nothing says “witchy vibes” like a spooky cat silhouette perched on your pumpkin. Don’t worry—it’s not as tricky as it sounds. You won’t need to carve intricate fur lines or tiny whiskers. Instead, this stencil focuses on the elegant, dark outline of a cat, maybe with its back arched and tail raised. It’s sleek, simple, and perfect for setting a mysterious mood on your front porch.
How to carve it:
- Focus on the cat’s smooth outline.
- Keep the details minimal: a curved back, upright tail, and pointy ears will get the message across.
- For extra Halloween points, carve a full moon in the background to frame your feline friend.
Pro Tip: If you want to go the extra mile, position the cat’s silhouette to look like it’s gazing at the moon or sitting on a pumpkin itself!
- Friendly Ghost
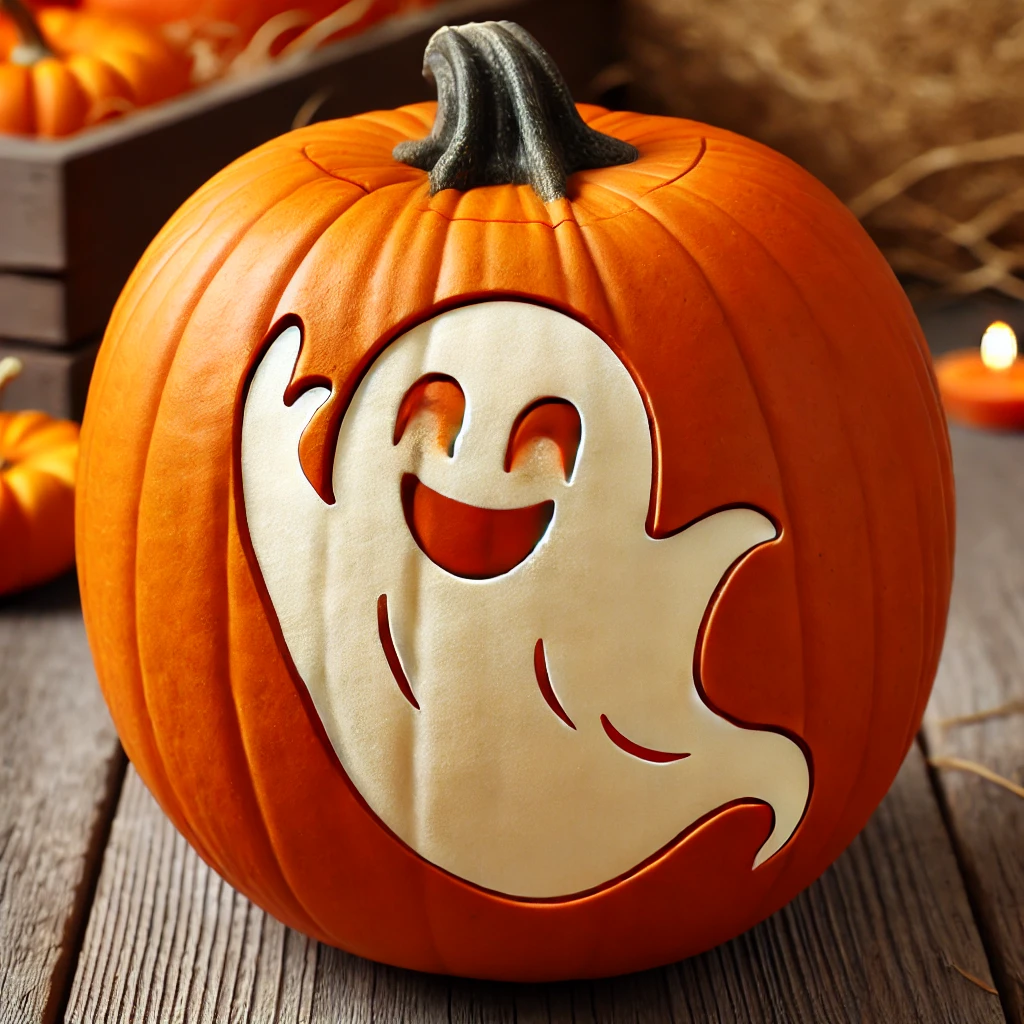
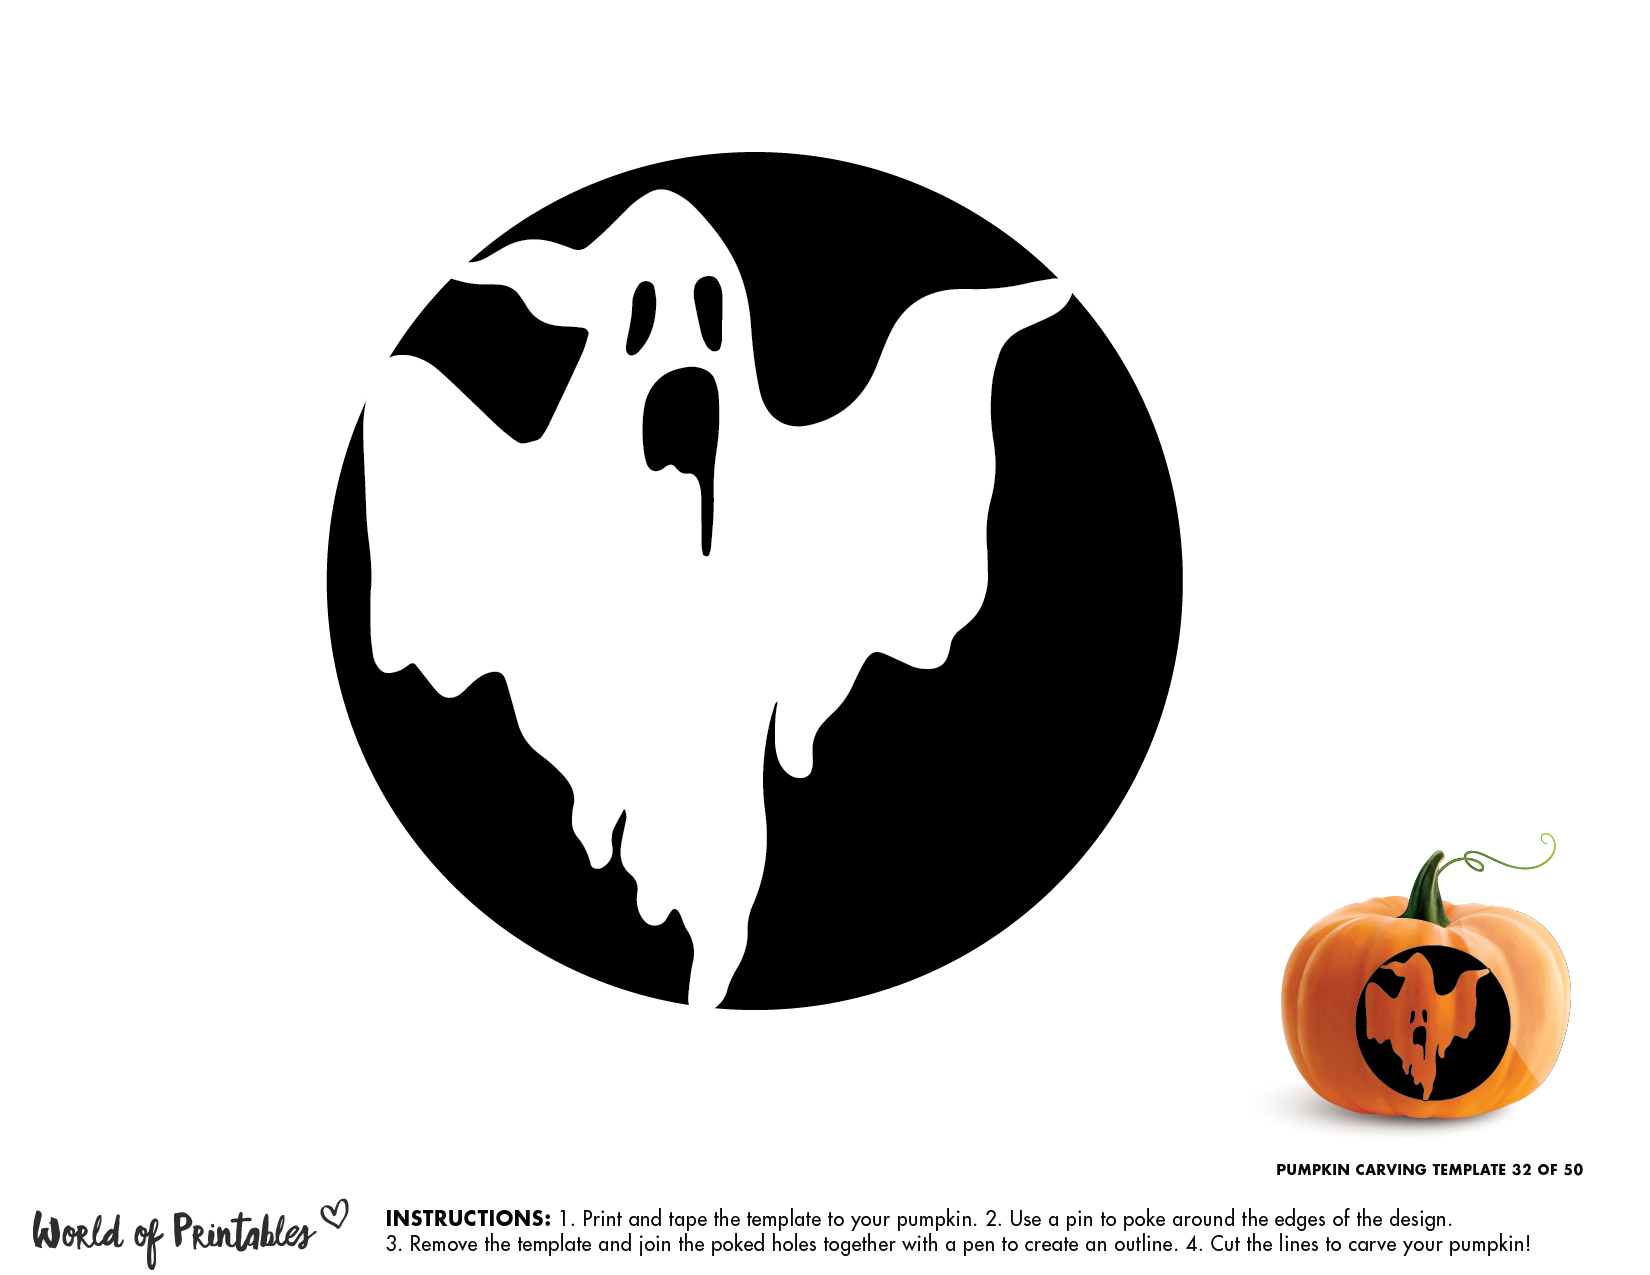
Who said Halloween had to be scary? Bring some lighthearted fun to your pumpkin lineup with a friendly ghost stencil. It’s quick and easy, and you don’t need to worry about creating complex shapes. With just a couple of swoopy lines and a smiling face, you’ll have a ghost that’s more “boo-tiful” than frightening. This one is perfect for families looking for kid-friendly designs.
How to carve it:
- Carve simple, flowing lines for the ghost’s body to create a “floating” effect.
- A pair of big, oval eyes and a wide smile will keep it looking cute and not too spooky.
- Add a little waving hand for extra charm.
Pro Tip: Place a small LED light inside the pumpkin to make your ghost glow with an eerie (yet adorable) shine!
- The Haunted House
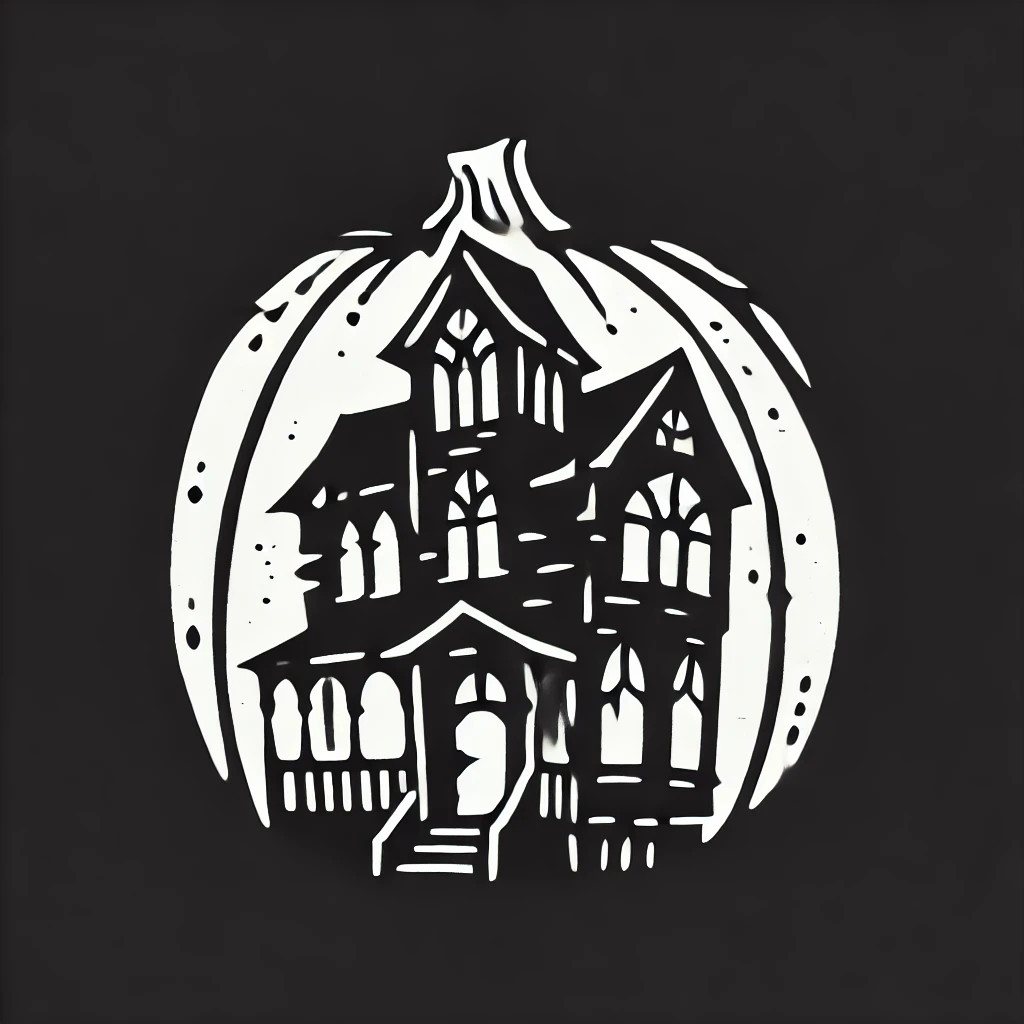
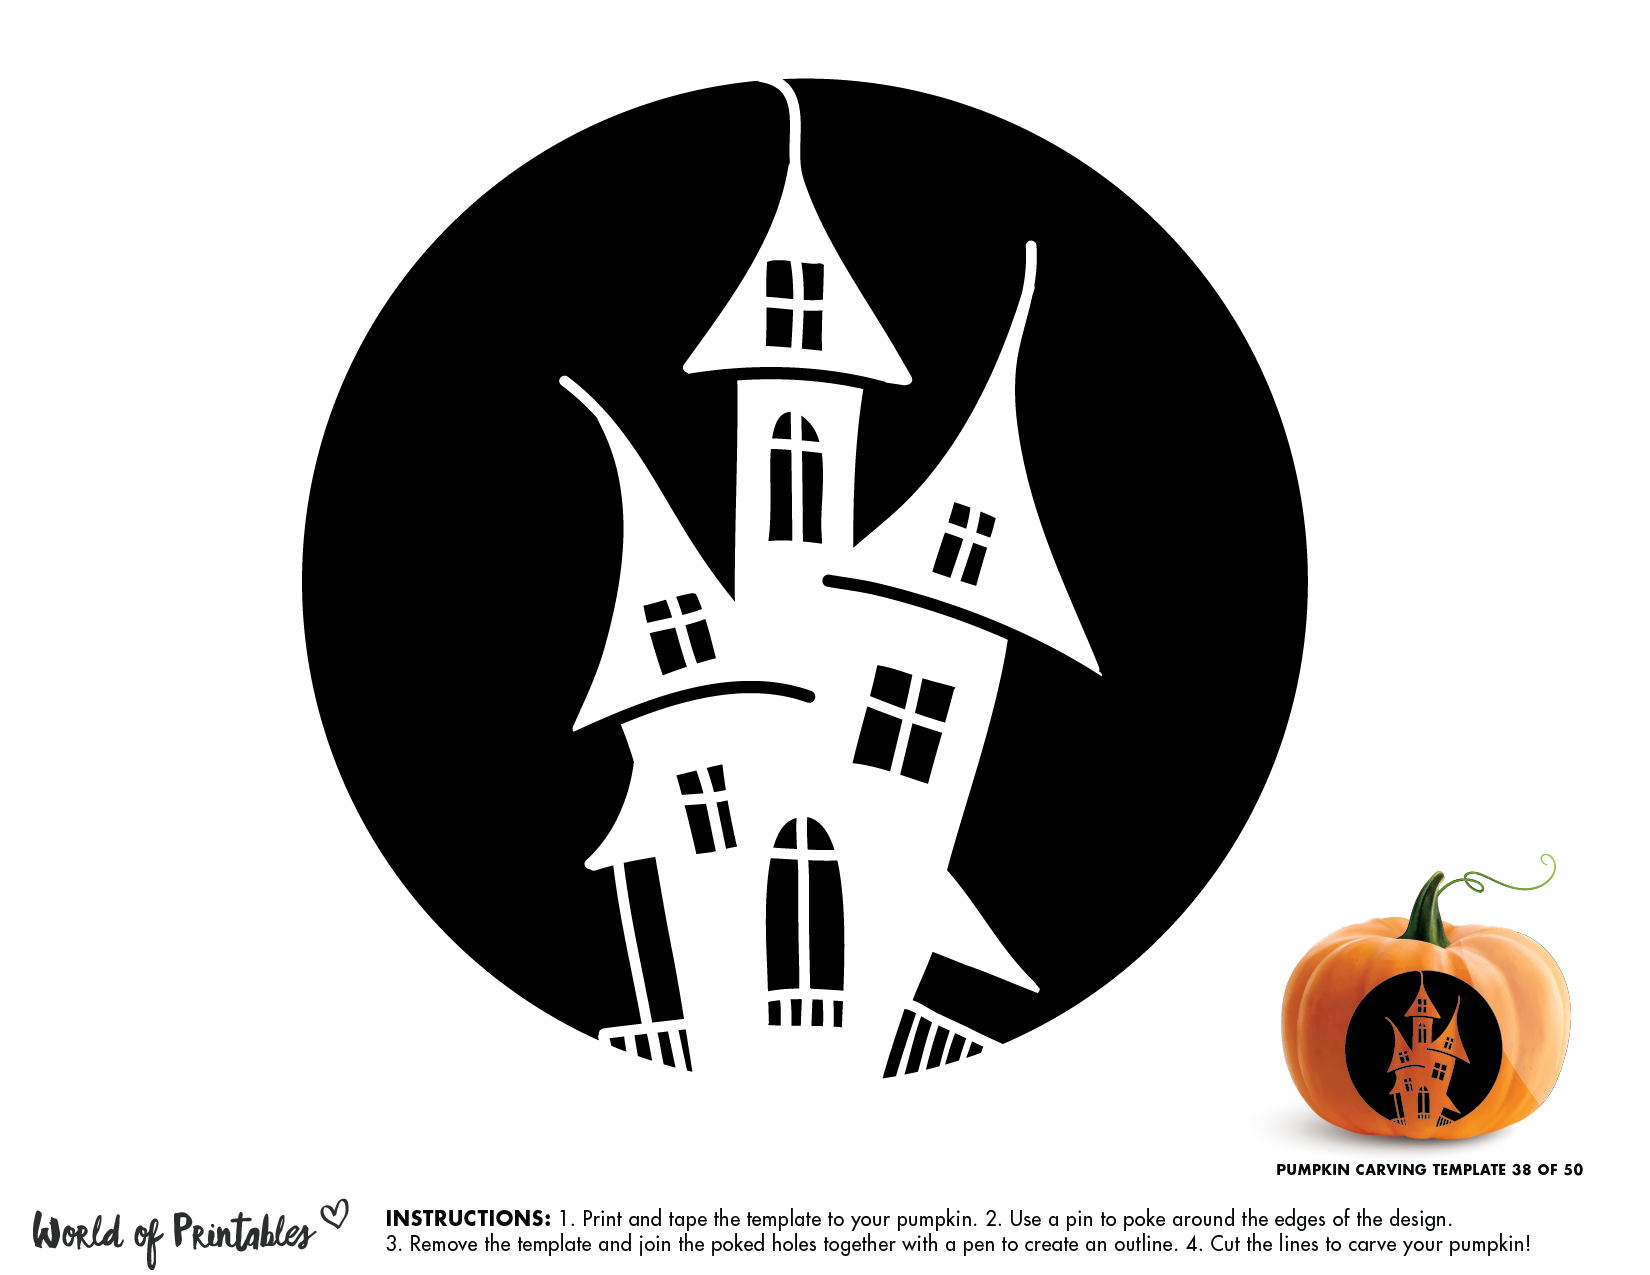
If you’re looking for a stencil with a little more detail but still easy to manage, try a haunted house design. The silhouette of a crooked, spooky house with a few crooked windows and a jagged roof can set the perfect haunted Halloween tone. It’s still simple to carve but gives your pumpkin a more intricate and professional look.
How to carve it:
- Stick to the house’s outer shape—don’t worry about internal details.
- Add a couple of spooky windows or a crooked chimney.
- Bonus: You can carve a ghost or bat flying above the house for extra spookiness!
Pro Tip: Try adding some small slits around the windows or door to mimic candlelight shining through, giving your haunted house a spooky, glowing effect.
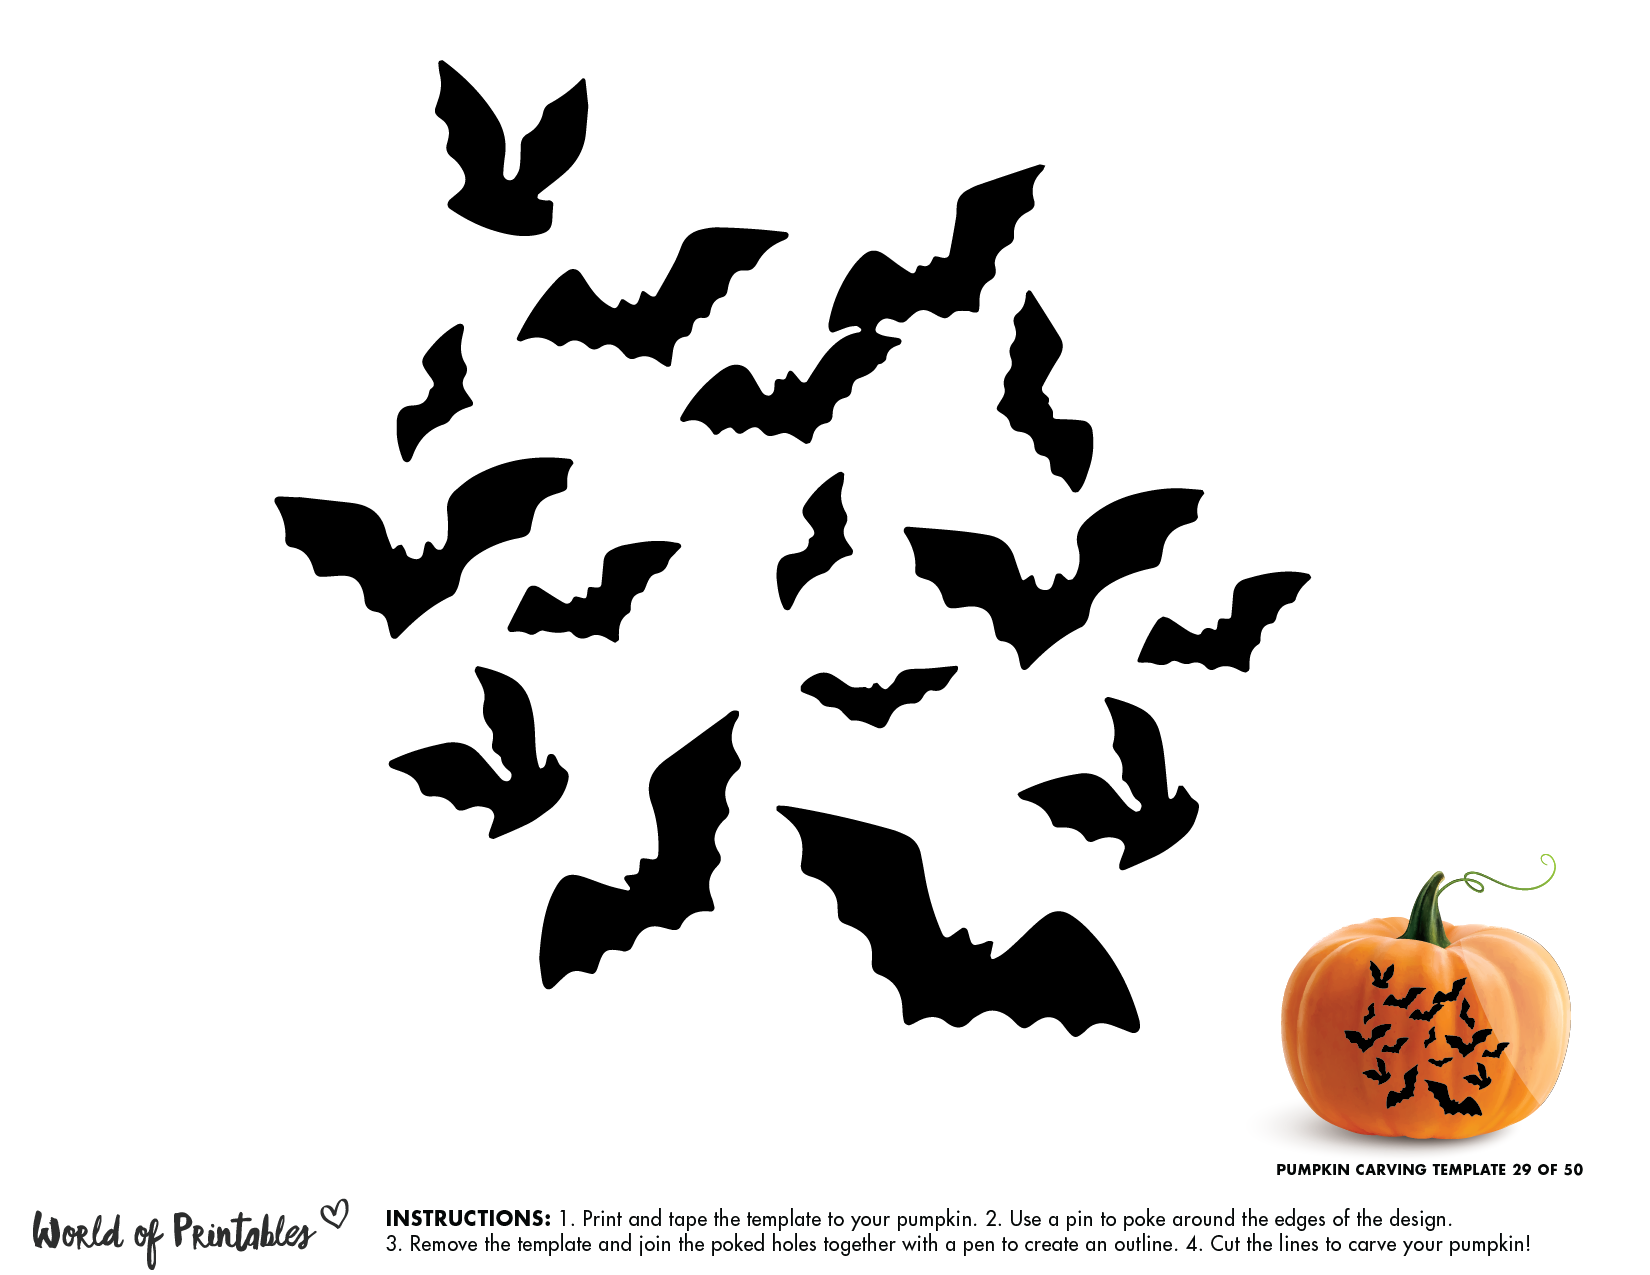
- The Bat Swarm
Few things scream Halloween quite like bats. For an easy yet dramatic design, try a bat swarm stencil. It involves carving out the shapes of several bats flying across your pumpkin, and it’s perfect for beginners since bat shapes are quite simple. The more bats, the better, and you can even mix sizes to add variety.
How to carve it:
- Use a simple bat outline (think upside-down triangles for the wings and a tiny body).
- Scatter several bat shapes across your pumpkin, either flying together or in different directions.
- Vary the size of the bats to create depth and visual interest.
Pro Tip: For a fun twist, place one large bat in the center, with smaller ones flying off to the sides—instant spooky drama!
Why These Stencils Are Perfect for Busy Halloween Enthusiasts
Not all of us have hours to spend making our pumpkins look like they belong in a museum. These easy pumpkin stencils for Halloween take away the hassle of overly complex designs, leaving you with more time to enjoy the fun part—carving and showing them off. Whether you’re carving last-minute or prepping weeks in advance, these designs deliver big Halloween spirit with minimal effort. Plus, they’re versatile enough for any pumpkin size or shape, so you can get creative without stress.
FAQs
How do I transfer a pumpkin stencil to my pumpkin?
Print out the stencil and tape it to the surface of your pumpkin. Use a pin to poke holes along the outline of the stencil, and then carve along the dotted lines.
What tools do I need for pumpkin carving?
You’ll need a pumpkin carving kit, which usually includes a small saw, scooper, and a punch tool. If you don’t have a kit, a sharp knife and spoon can work in a pinch.
Can kids help with pumpkin carving?
Yes! For younger kids, you can let them help with cleaning out the pumpkin and tracing the stencil. Leave the actual carving to adults or older children using safe tools.
How long do carved pumpkins last?
Carved pumpkins typically last 3-5 days before they start to rot. To extend their lifespan, you can coat the edges with petroleum jelly or store them in a cool place when not on display.
Can I use these stencils on a fake pumpkin?
Absolutely! Fake pumpkins are a great option if you want to keep your carved designs for future Halloweens.
What’s the best way to light a carved pumpkin?
LED lights are a safer option than candles, as they won’t pose a fire hazard and can last longer. For a more traditional look, use a small tea light candle.
Conclusion
Halloween wouldn’t be complete without a glowing pumpkin or two on your porch. With these 5 easy pumpkin stencils for Halloween, you don’t need to be an artist to create something amazing. Whether you go with the classic Jack-O’-Lantern or get a little spookier with a haunted house, you’ll have a pumpkin that’s sure to impress all the trick-or-treaters—and maybe even a few envious neighbors! Happy carving!
Suggestions for Inbound Links:
- Our 10 Favorite Halloween Costume Ideas for 2024 https://erawilderrealty.com/2024/10/26/our-10-favorite-halloween-costume-ideas-for-2024-diy
- 7 Spooky Treats You Can Make at Home That Will Give You Chills! https://erawilderrealty.com/2024/10/26/7-spooky-treats-you-can-make-at-home
- Top 10 Scariest Movies to Watch This Halloween: Terror Awaits! https://erawilderrealty.com/2024/10/23/top-10-scariest-movies-watch-halloween
- 10 Must-Know Halloween Safety Tips for Families and Kids https://erawilderrealty.com/2024/10/26/halloween-safety-tips-for-families-and-kids
Suggestions for Outbound Links:
- 26 Pumpkin Carving Stencils for the Best Jack-o’-Lanterns on the Block https://www.realsimple.com/holidays-entertaining/holidays/halloween/pumpkin-carving-stencils
- 22 Brilliant Pumpkin Carving Ideas to Light Up Your Home This Halloween https://www.realsimple.com/pumpkin-carving-ideas-6751270
- 12 Pumpkin Carving Templates Printable Pages https://frostedevents.com/pumpkin-carving-templates/
Stencils: 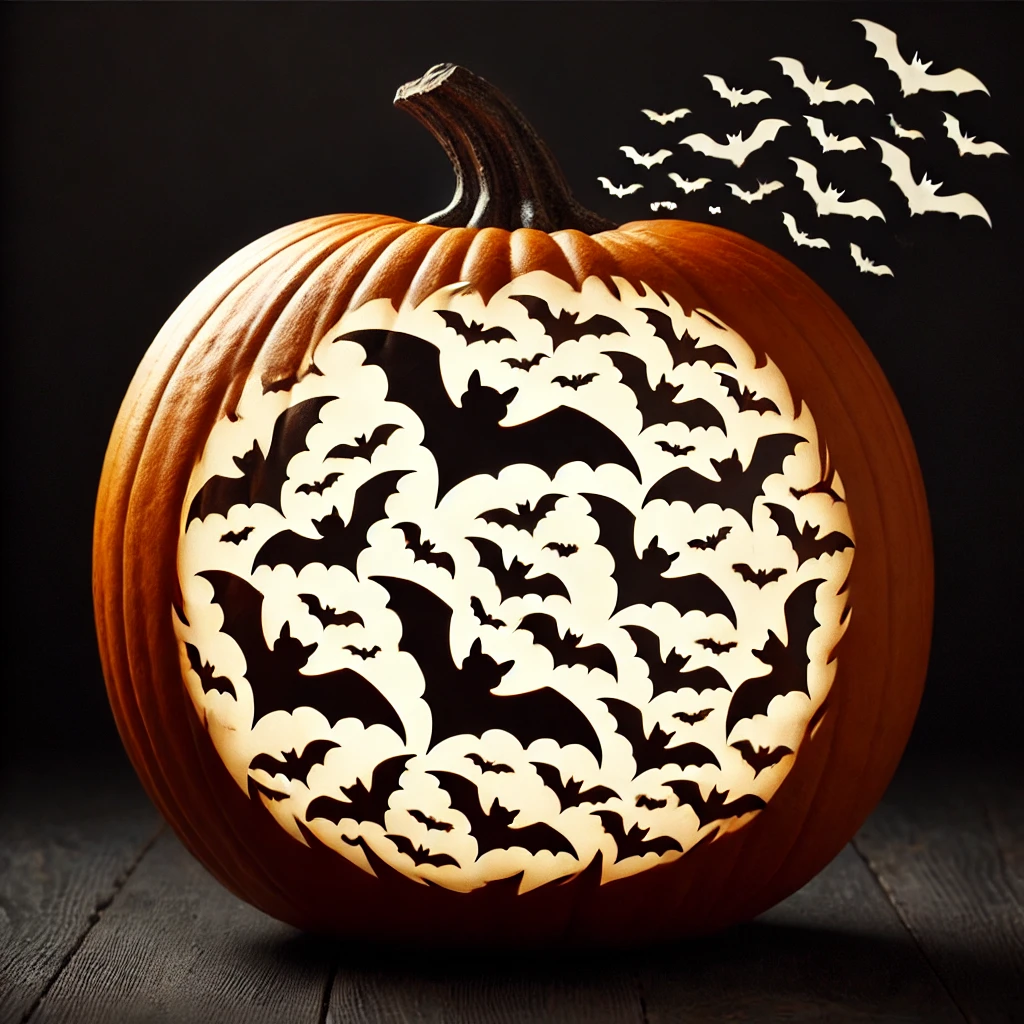


 Facebook
 X
X
 Pinterest
 Copy Link
